
You love cake. You also love the 18th century. What could keep you from baking a cake with a recipe from this era? It would make a great first-hand experience!
Well, I rather suck at baking. So I asked a good friend to help out: ‘Thunderbread‘, who is accomplished in all kitchen matters.
From a selection of 200 years old cake recipes, he chose the one for Savoy Cake from 1802.
Find out all about his 18th-century baking challenges such as dealing with measurements, making the best of scarce instructions and choosing the appropriate mixing techniques.
Recipe for Savoy Cake
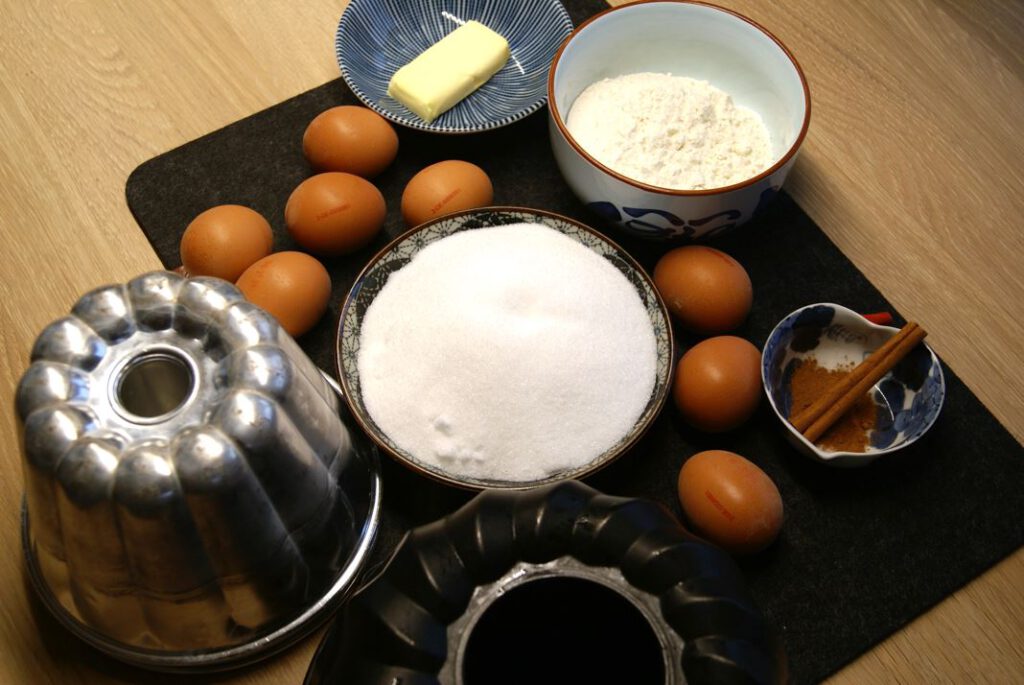
Beat well together the yolk of eight eggs and a pound of sifted sugar, and whisk the whites till of a solid froth; then take six ounces of flour and a little sifted cinnamon, and mix all the ingredients lightly together; after which rub a mould with fresh butter, fill it three parts full with the mixture, and bake it in a slack heated oven.
The Art of Cookery, by John Mollard, 1802 (https://www.gutenberg.org/files/41352/41352-h/41352-h.htm)
Well, a rather cryptic recipe … As compared to today´s recipe books – recipe books in older times usually only gave very basic information concerning ingredients, mixing, tin size, oven temperature and baking time. Much seemed to be based on general knowledge and experience. (And the given circumstances.) So my first step was getting the ingredients, taking into account that “a pound” means only 454 g, but what about the size of the eggs? Frankly spoken, I did not give much thought on this problem and took the eggs available in my fridge. Size “M”, the medium weight of 53 to 63 g.
Making solid froth
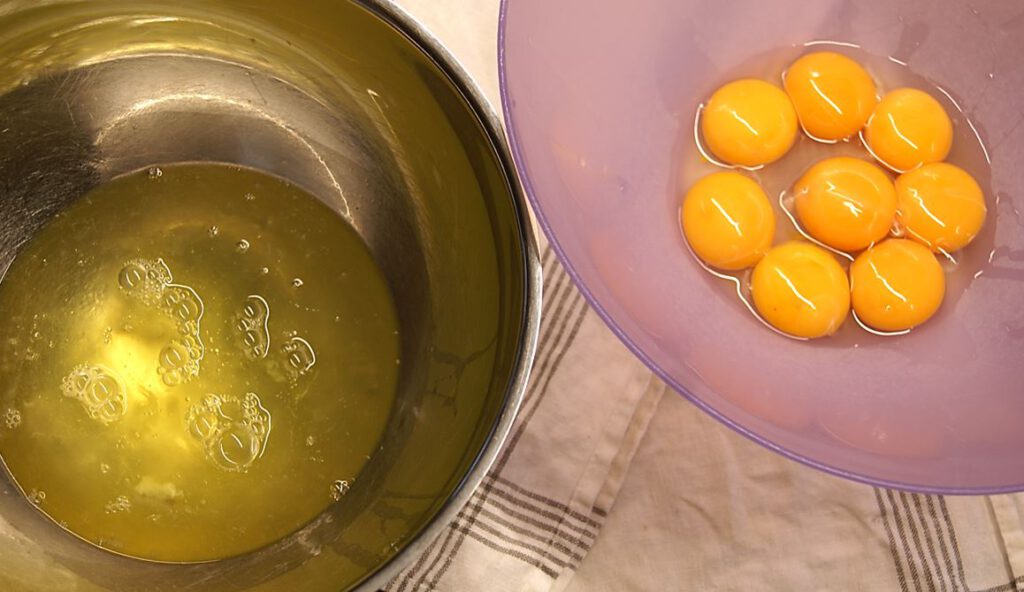
The eggs were cautiously separated.
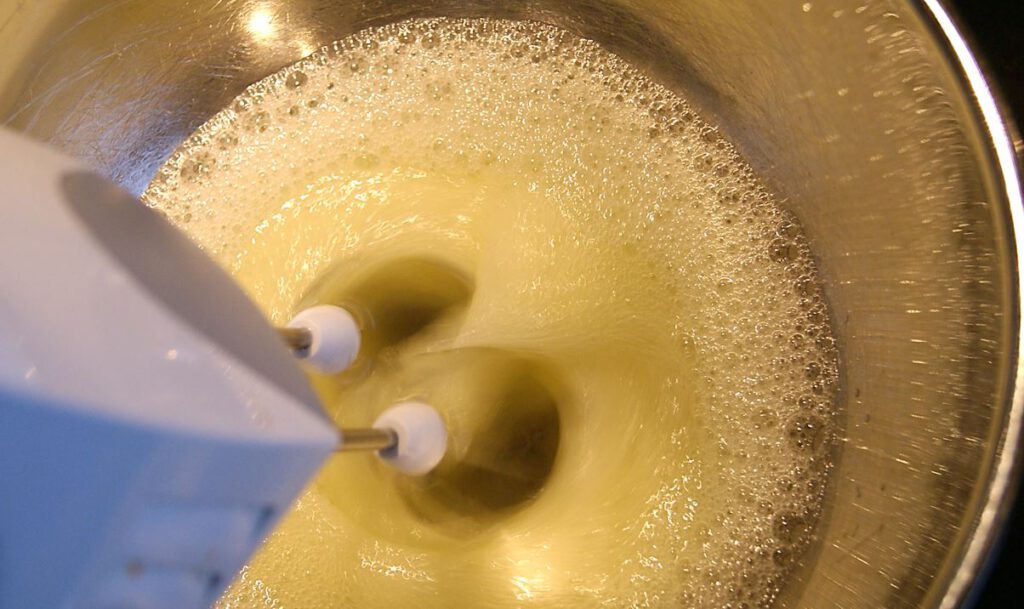
I felt free to change the steps given in the recipe, because I learned that the egg whites should be beaten first, so that no problem might occur because of any egg yolk that got in the egg whites. (Well, no need to clean the beaters either.) The whites were beaten “till of a solid froth” – with some assistance by a mixer. Some decades years ago, I learned how to beat egg white on a plate using a fork. But that would have been too much of a showing-off!
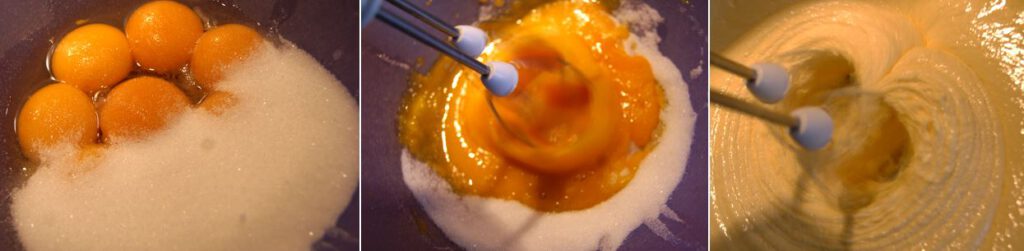
Then mixing yolks and sugar followed. It took some time until the quite high amount of sugar dissolved completely and the mixture was creamy and changed its colour to a light beige.
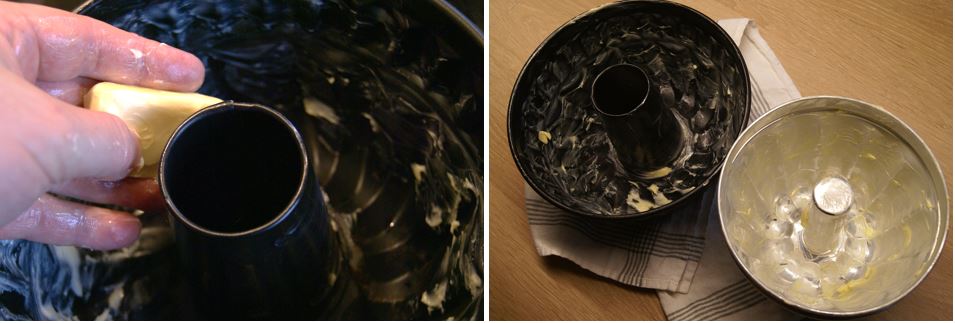
Choosing a suitable mould
The most suitable tin for baking, I thought, might be one for a ring cake in matters of even baking and final appearance. There was one tin with a diameter of about 18 cm in my cupboard, and as this one seemed not to be sufficient for the mixture, I also buttered a quite small one as well, just in case.
Mixing the batter
Then the remaining ingredients were sifted on top of the yolk-sugar mixture. The amount of cinnamon was quite low, just about one gram, but it looks much more on the photos.
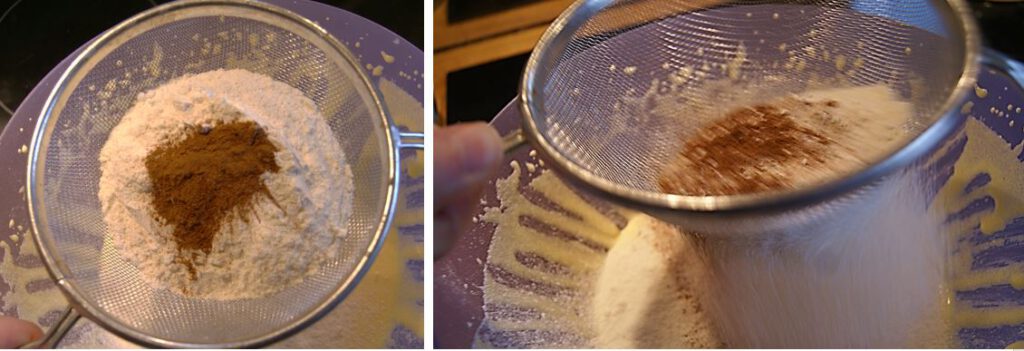
From what I learned in the past, it might have been too risky to mix all ingredients in just one step: either the mixture might have collapsed during the baking or there might have been lumps caused by dry ingredients that were not properly incorporated. So I took about one third of the “froth” and mixed it lightly with the other ingredients, and then I folded in the remaining two thirds as well.

The heat is on
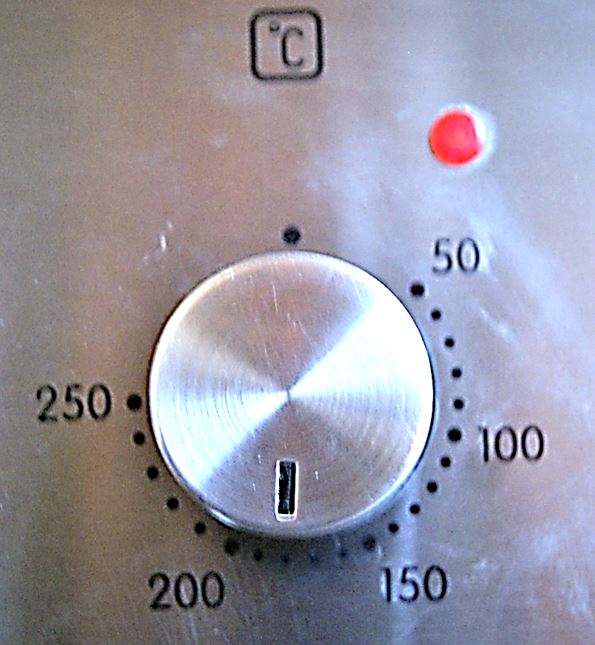
In the meantime, the oven was set at 180 degrees Celsius and preheated. The temperature was the same as for sponge cake, but might presumably have been a few degrees lower as well.
The bigger tin was filled three parts with the mixture, the remains were used in the smaller tin causing a little problem in regard of different baking times needed. I decided not to open the oven door during the baking process, fearing that the mixture might collapse and accepting that the smaller cake could be on the drier side.


After 30 minutes I checked the cakes with a toothpick, no batter remained on it, so the cakes seemed to be well done.
After a few minutes, I demoulded the cakes (a very easy task) and put them onto a cooling rack.
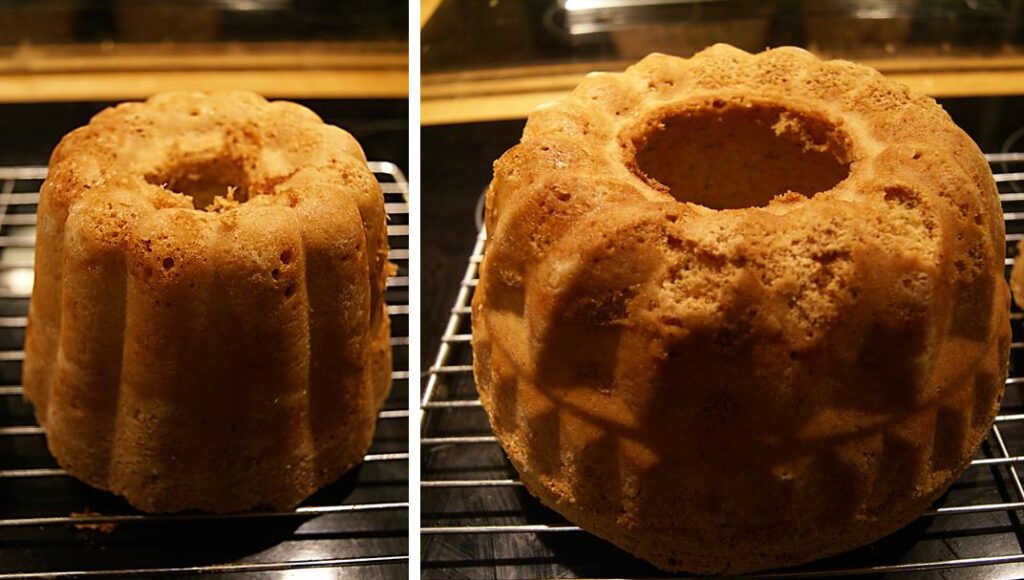
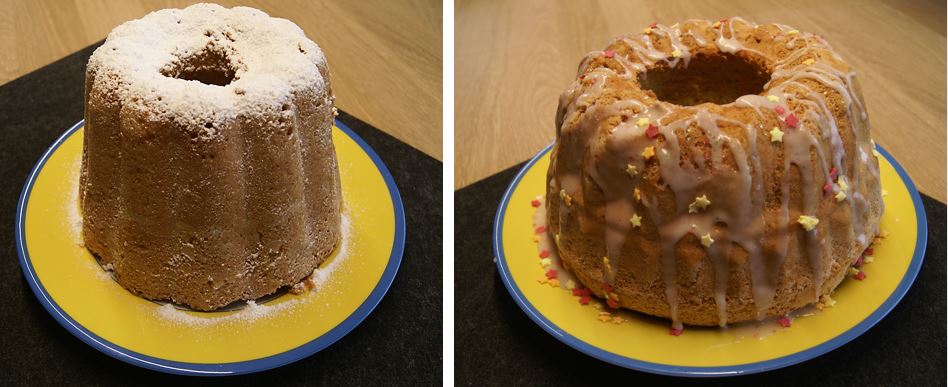
Fresh from the oven!
After the cakes cooled completely, I felt free to give them a very simple decoration that would not drown the cakes´ actual flavour.
Conclusion
The overall result was quite convincing as far as the outer appearance is regarded. The outside was rather crisp and crumbly, whereas the inner texture tended to be rather rubbery which made it difficult to eat with a fork, as a bite-sized piece did not come off easily. This might presumably have been due to the high ratio of eggs in the batter. So the mouthfeel was not as pleasant as I actually expected it to be. The cinnamon taste and smell was very nice, but in summary this Savoy Cake was far too sweet for my taste.
Would I use this recipe again? Well, rather not. A Japanese castella cake or a fragrant chiffon cake might be a better choice for the palates of my guests.
Thunderbread (þrumari)
A huge THANK YOU to ‘Thunderbread’ for taking up the challenge!