
– How to Make Regency-Inspired Beverage Coasters –
An Exhibition by Jacques Kee
 Contents:
- How to Make Regency-Inspired Beverage Coasters
- Step-by-Step Tutorial
- Tricks of the Trade
Dear Regency Enthusiast
Photo Transferring is a trendy craft that allows you to quickly design home decor such as pictures or woodprints. But have you tried to create something special for your next Regency-themed picnic?
Don’t worry; we won’t photo transfer scones. It’s far better: personalised and Regency-inspired beverage coasters for a lovely picnic with your friends. The exhibition “Take Your Favourite Period with You on a Picnic” by Jacques Kee provides an insight view into the production steps.
Enjoy the exhibition!
Anna M. Thane
How to Make Regency-Inspired Beverage Coasters
Regency-inspired coasters can come in various styles. You can create a set with historical landscapes and country houses, use your favourite paintings of High Society, or even work with comics.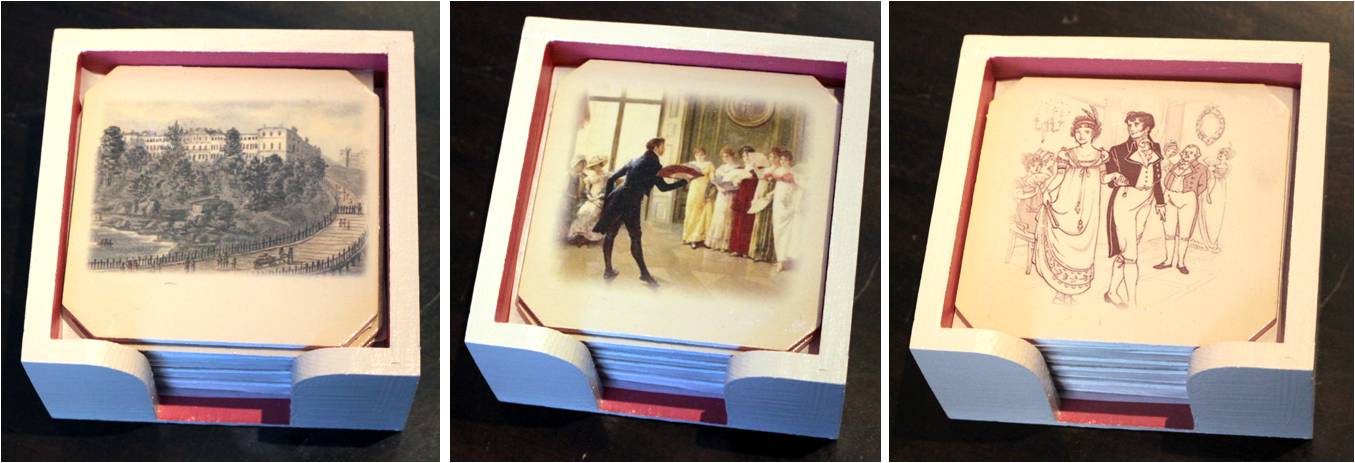
Don’t be afraid to let your creativity flow. If your friends are into re-enactment or enjoy attending balls in Regency attire, a personalised beverage coaster set will surely make a lovely gift.
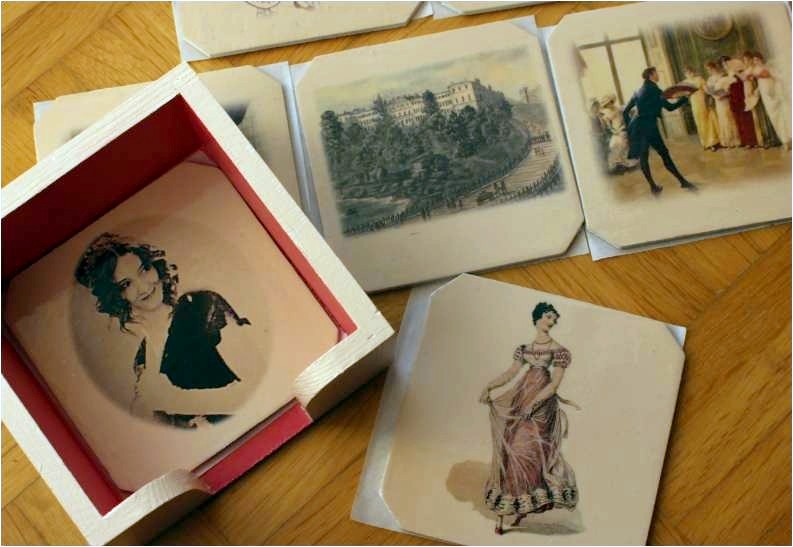
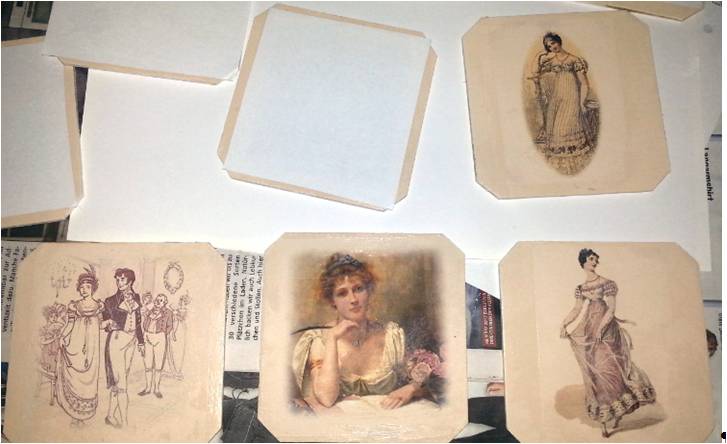
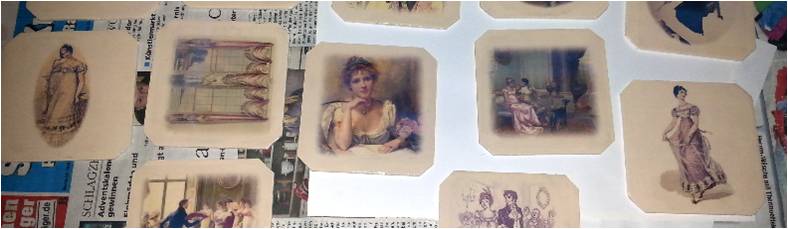
When designing the set for Anna, I wanted to create a light, female and romantic look. Have a look at some of beverage coasters I made for her: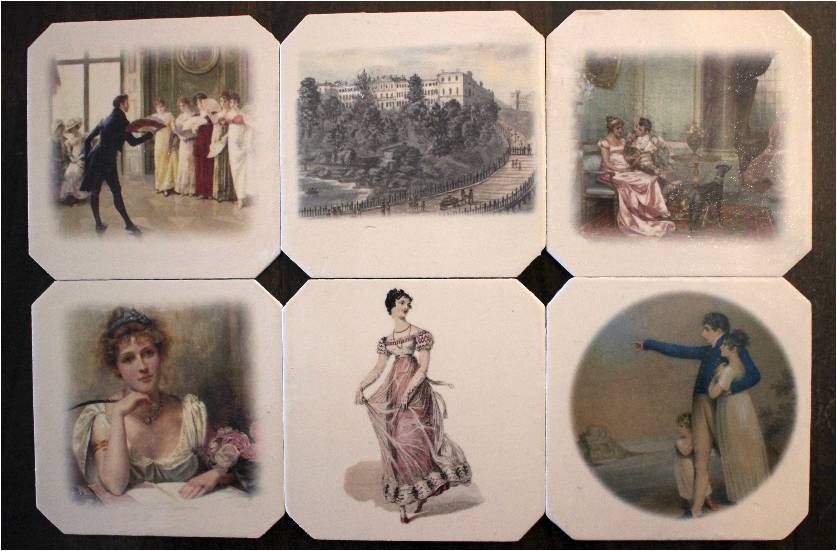
So how is photo transferring done? It actually is easy. Check out my step-by-step tutorial. Also see my 5 tips for a professional result at the end of this text.
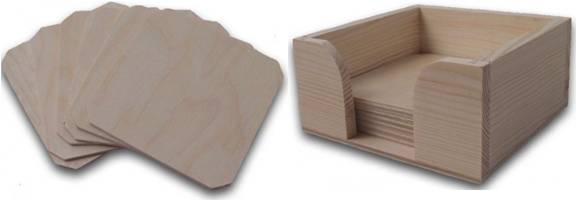
This is what you need:
- a set of wooden beverage coasters in a box
- white wood primer
- white coating (acrylic lacquer)
- brown tinting concentrate
- a photo transfer medium (e.g. Mod Podge, Art Potch, Foto Potch)
- brush
- squeegee
- sponge
- sealer
Step-by-Step Tutorial
Step 1: Select and print the images you want to use
Print your image on a laser printer; you will get the best results with dry offset printing.
Step 2: Prepare the beverage coasters
It’s up to you if and how you prepare the basic coasters. A layer of water resistant varnish surely will be a good idea to protect the wood.
Generally the photo transfer medium will produce an opaque, white background. This doesn’t mean you can’t use it on dark coloured items. You simply have to take the opaque effect into consideration when planning your project.
The opaque look came in handy for me. I simply had to apply a white wood primer. I also added a layer of white acrylic lacquer mixed with brown tinting concentrate to create a cream-coloured surface.

Step 3: Apply the photo transfer medium
Apply the photo transfer medium directly onto the face of the images and on the coasters. Spread it quickly in a level, medium thickness.
Step 4: Place the coated image on the coasters
Carefully lift the coated images off, flipp them over and place them on the prepared coasters. Use the squeegee to smooth out wrinkles or bubbles. Avoid touching the wet medium with your fingers.
Let dry for 24 hours.
Step 5: Rub off the paper
Dampen the backside of your image with a moist sponge and then carefully rub the paper off the coasters. You can either use your fingers or the moist sponge. Make sure to remove all paper.
Step 6: Apply the sealer
To seal and protect the coasters, apply a sealer (e.g. a gloss varnish; it usually comes with the photo transfer kit) on the completed coasters.
Tricks of the Trade
A photo transfer medium is generally easy to use. However, it takes a bit of practice to master it completely. Here are 5 of my favourite tips for you:
- Never use a real photo. Print your image on a laser printer; you will get the best results with dry offset printing.
- Print words in reverse. Remember that your design will be transferred to the coaster on the reverse side. So when you want to add a word to your design, you need to reverse it on your computer. It will come out correctly when you do the transfer.
- Use a squeegee to apply the transfer medium. The photo transfer medium is rather thick. Working with a flexible squeegee is easier than with a brush.
- If you have applied the medium and some of it comes out the sides, wipe it off. Otherwise, it will dry and be stuck.
- Leave your photo-transferred items to dry for 24 hours. You can use a hair-dryer to speed up the process, but the result will be better if you allow for a full day of drying.
And here is a final tip: Never ever allow a pet near the wet product. It will cover everything with hair before you can say “Don’t!”.
Enjoy your picnic with Regency-inspired beverage coasters!
Jacques Kee
 About the Artist
Jacques Kee is a creative who enjoys working with all kinds of lacquer, spray and varnish. Her work includes lamps, and purses, and she recently has begun to try her hand at airbrush cake decoration.
She is not sure if beverage coasters were already around at the time of the Regency, but couldn’t care less. If she ever were to time-travel to the 18th century, she’d probably become a privateer and smuggle French wine.